Sowing Grass Seed:
Once the soil is prepared you are ready to go ahead and sow your grass seed. Sowing grass seed is straight forward, but a few simple tips can make all the difference in helping to achieve optimum germination and establishment.
When to sow?
Seed sowing times are dictated by soil temperatures. Different species require different temperatures for them to be able to successfully germinate. The information below is an approximate guide to when you can sow different types of grass seed mixtures.
Mixtures containing perennial ryegrass:
- Required soil temperature = 7 degrees Celsius
- Possible sowing window = February to November
Mixtures without perennial ryegrass, i.e fescue and bent blends:
- Required soil temperature = 11 degrees Celsius
- Possible sowing window = March to October
Mixtures containing annual ryegrass:
- Required soil temperature = 4 degrees Celsius
- Possible sowing window = Year round
Pure bent mixtures:
- Required soil temperature = 15 degrees Celsius
- Possible sowing window = April to September
For optimum germination, the minimum soil temperature should be constant for 24 hours per day. In early spring or late autumn, it is likely that soil temperatures would be sufficient during the day but then drop down overnight. This is perfectly OK, it will just slow down the germination time and subsequent establishment. The above information on sowing windows should be treated as a guide and is not definitive; attention should be paid to the prevailing ground and weather conditions at the time of sowing and sowing times altered accordingly.
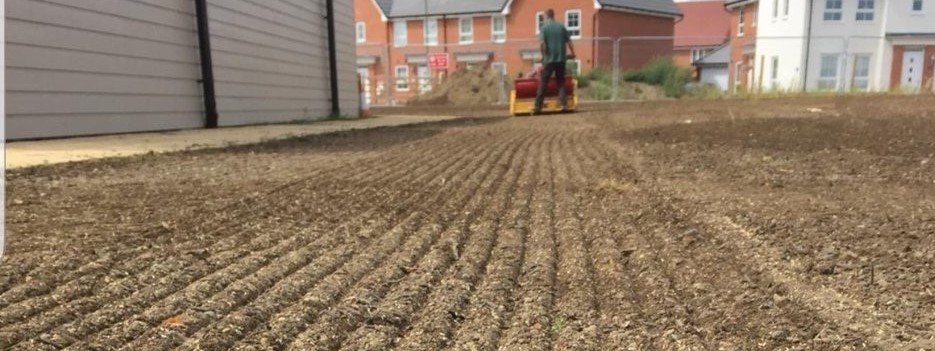
Final preparations
Before the seed is sown, it may be necessary to give the area one final rake over to loosen the soil at the surface. If the area has been rained on and has subsequently dried off, there may be a slight crust on the surface that will benefit from being broken up before sowing the grass seed.
Sowing the seed
1. By hand
For smaller areas it is perfectly fine to spread the seed by hand; however distributing it evenly can be difficult and you are likely to end up with some areas that are thicker than others. When sowing by hand it can be helpful to divide the area up into smaller sections so the seed can then be divided up for each area – for example, if you have 200m2 to sow, divide into approx. 50m2 sections and measure out 2.5kg for each section. This will help to ensure you do not run out of seed halfway through!
Once applied, the seed should be gently raked over to incorporate it into the top 10-15mm of the soil surface. To achieve best results, it is recommended that the area is then pressed firm by rolling or ‘treading in’. This will ensure good seed-to-soil contact which will encourage fast and consistent seed germination. Seed that is left on the surface is unlikely to grow.
2. With a spreader
If you are using a seed/fertiliser spreader there may be instructions on how to set it up for sowing grass seed. If that is the case, perfect, if not it may require a little bit of trial and error to ensure that the seed is being applied at a suitable rate. Quite often it is the case with seed/fertiliser spreaders that the application rate is only approximate, as it depends on how fast the seed flows through the hopper and how fast you are walking. Therefore, seed/fertiliser spreaders should be viewed more as a means of achieving an even application. It is therefore advisable to set the spreader to a slightly lower rate but then make multiple passes over the area to achieve a uniform coverage.
Once applied, the seed should be gently raked over to incorporate it into the top 10-15mm of the soil surface. To achieve best results, it is recommended that the area is then pressed firm by rolling or ‘treading in’. This will ensure good seed-to-soil contact which will encourage fast and consistent seed germination. Seed that is left on the surface is unlikely to grow.
3. Using a seed drill
Most purpose-built seed drills will come with clear instructions on what setting to run the drill on. These can be found in the operator manual or are sometimes detailed on the machine itself or inside the seed hopper. Most seed drills will be fitted with a rear roller which will firm the soil and press the seed in. This will ensure good seed-to-soil contact which will encourage fast and consistent seed germination. Alternatively, the area can be rolled using a set of dedicated rollers.
Immediate aftercare
The two things that have the greatest impact on seed germination are:
- Temperature
- Availability of water
Temperature is largely out of our control; the only thing that we can do is ensure that we sow the grass seed at an appropriate time of year. Water is something that we can control and should be applied readily to ensure good results. The following tips may be useful:
- Initially water should be applied frequently enough to maintain soil moisture, but not so heavily that it causes ‘wash out’ or flooding.
- During periods of hot weather, it may be necessary to apply water 3 times per day to ensure the soil does not dry out, particularly on light or sand based soils.
- If it is going to be difficult or impractical to apply water, it is advisable to sow the seed slightly deeper if possible or ensure it has a good covering of soil. This will help to maintain a higher level of moisture around the seed as opposed to at the surface where it is more prone to dry out fast.
- Steady natural rainfall beats a hosepipe every time. Mains water from the hosepipe is generally quite cold and although supplying the plant with much needed water, can also cool off the soil temperature and slow down germination. This is particularly the case in the spring when the soil temperatures are struggling to get up – a dry spring is the most challenging time to sow any seed.
- In periods of hot weather, applying water in the evening is a well-known method as this reduces the amount of water that is lost to evaporation.
- Watch out for wind. Sometimes the wind can dry soil out faster than the sun. Even in cool conditions, a steady breeze can cause the soil to dry out rapidly.
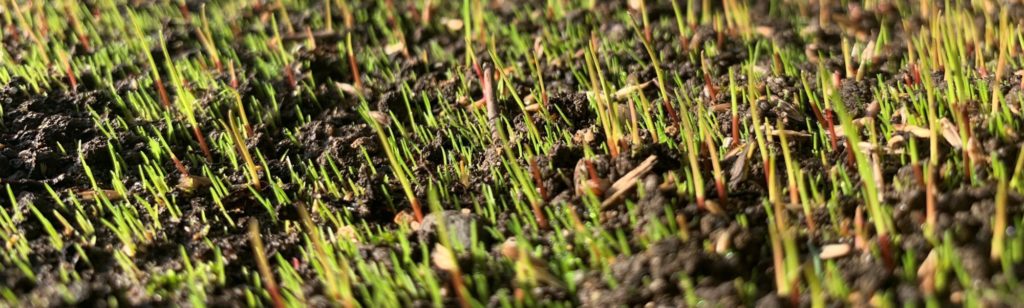
Germination
Germination times will vary between species and the prevailing conditions, but generally a perennial ryegrass-based mixture will germinate in 7-14 days and a non-ryegrass mixture in 14-21 days. If conditions change for the worse this time frame can be extended.
Once the seed does begin to germinate and a green haze begins to appear over the entire area it can, if possible, be lightly rolled in. This will help to press the soil around the developing roots and ensure they are better able to access water and nutrients.
The first cut
When will it need the first cut? There is no exact answer, but ideally when there is a good green haze over the whole area and the grass is around 75mm tall. The first cut should do no more than ‘take the tips off’ – never remove more than one third of the leaf. As you begin mowing the grass it will begin to respond by producing more shoots at the base – this process is called tillering. You will notice the grass beginning to fill in and become thicker by the day. At this stage it is important to keep up regular mowing; the one thing new grass does not like is being allowed to grow tall and then get cut short too fast.
The first cuts are best done with a rotary type mower, as this can operate at a higher height of cut. Every couple of weeks you can slowly and incrementally reduce the height of cut. The more you reduce it down, the more it will begin to thicken out. For a general purpose lawn, aim to go no lower than 25mm.
If you still have some questions, feel free to contact us and we would be glad to help.
Help & Advice
Find out more about how we can help you at Grass Seed Online, we offer lots of useful information and resources, so check them out today.